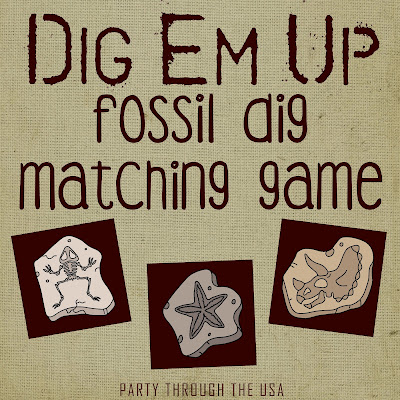
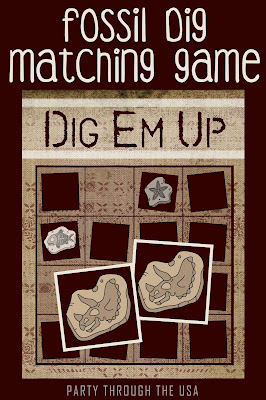
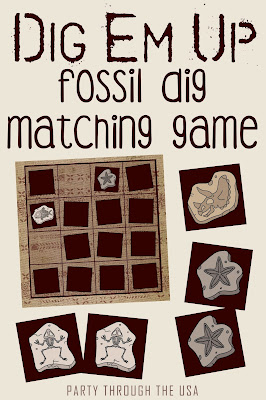
Fossil Dig Travel Matching Game
We've visited the Museum of the Rockies in Montana several times, but the kids are asking when we can go back. They (like most kids) love the mystery and excitement of dinosaurs and other things dug from the ground. Any activity featuring paleontology is great news in their book.
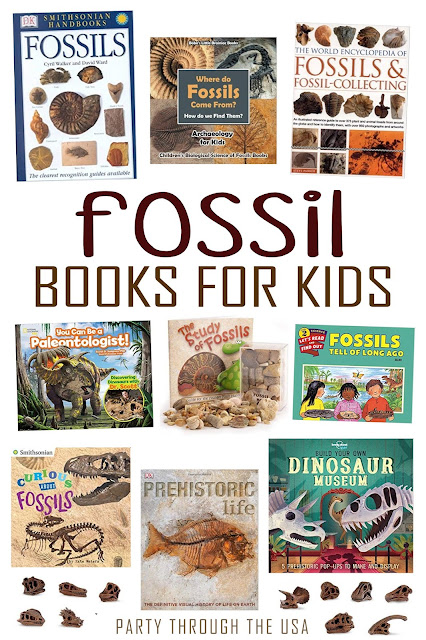
Expand Your Knowledge with Some Good Books!
Last year, I put together several matching games in a tin, which were great for slipping in a pocket for wait times like restaurants, doctor's offices, and airplanes. This year, I'm starting out Travel Time Tuesday with a fossil matching game! Just download the printable and you're good to go.
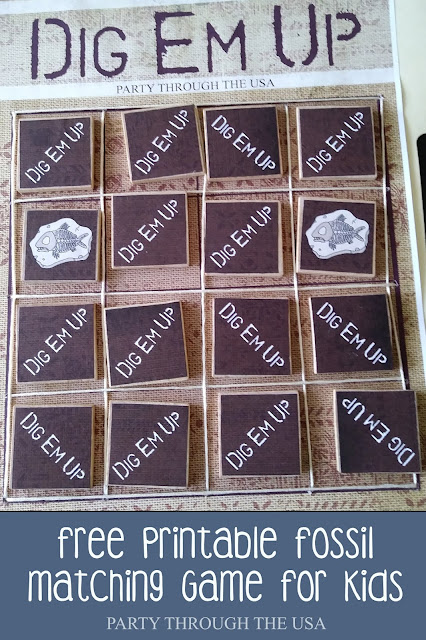
I was inspired for this printable by A Dynamic Mess, who created a "dig site" on her matching game with string. She said that the grid helped the preschoolers put their card back in the correct place. For my game, I used a glue stick to put the printable in a file folder and poked holes to add the string. Then, I threaded the embroidery floss in and out of the holes to make a 3D grid. I didn't laminate it because I wanted it to photograph better, but I recommend laminating the game board if that's an option.
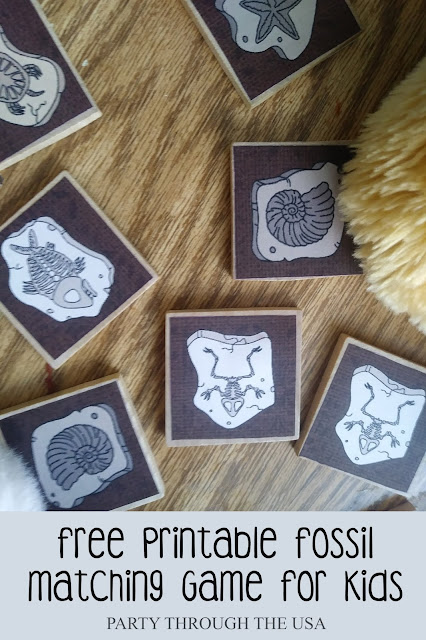
I also added wood tiles for the matching cards to give them a lot strength and weight. It makes it a lot easier for little fingers to pick them up. They're almost irresistible to being touched. I really like how they look too. The wood tiles were purchased on Etsy.
This printable is a subscriber special for those who sign up for my newsletter. Join the group to get the latest news about my new content, free printables, and exclusive content! (Don't worry if you've already signed up before- just enter your email address again to get the printable)
If you decide not to add the wood tiles, the matching cards can be printed on cardstock and laminated. I included a page with themed backing for the cards to help them be less transparent- just print double-sided and cut out. The cards can be stored in an Altoid tin. The printable also comes with a label for the tin. I laminate the label, and then hot glue it to the tin. If you have a better way to affix the label, drop it in the comments.
Pin It!



Comments
Post a Comment