Quick and Easy Knotted USB Cover
This blog article was originally posted on my first blog In Our Pond. I started out trying to put all my travel content on my homeschooling blog, but it grew to be too big. So, I'm moving all the road trip stuff over here! It'll probably take me a while to move all the posts, but I'll also be posting new content on here as well. In Our Pond will now be exclusively for homeschooling and parenting content, while this blog (Party Through the USA) is for all the family travel posts. Check them both out!
A few years ago, I ran across a picture of ear buds covered in green variegated embroidery floss. I was instantly inspired, but as a person who doesn't use ear buds, I dismissed the idea. Last night, I was crafting a car organizer and thinking about the road trip in general and the electronics situation specifically. For some reason, it pinged in my brain to make our USB cords more interesting.
I couldn't sleep last night until I promised myself that I'd make this craft today. I may or may not be crazy. So, I spent all day today working on the craft, doing live videos of it, and blogging about it.
Safety Warning- There is a small chance of the cord catching on fire if the wires become frayed or damaged. To minimize this risk, you can use a 100% wool yarn (wool is fire extinguishing) and make sure your cord is new. As always and with every project on this website, craft at your own risk.
Supplies
- USB cord for your device (any size)
- embroidery floss or yarn or paracord
- clipboard to hold your project as you work
The great thing about this project is that there are many different ways that you can cover the cord. The easiest way is to simply wrap the yarn around the cord and tie off, glue, or tape the ends. It seems like the majority of the projects on Pinterest use this technique.
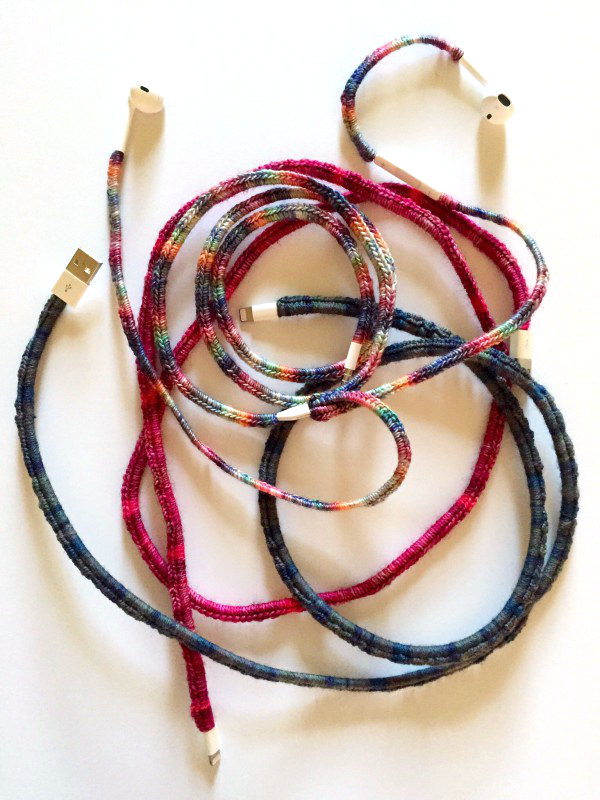
Secondly, you can crochet over the top of the cord, like this one from Not Your Average Crochet. In this method, you'll also need a crochet hook. In the tutorial, she only did one row of single chain, but it is possible to continue crocheting to make a very unique cord. Perhaps add a few rows of lace edging or attach some beads or charms.
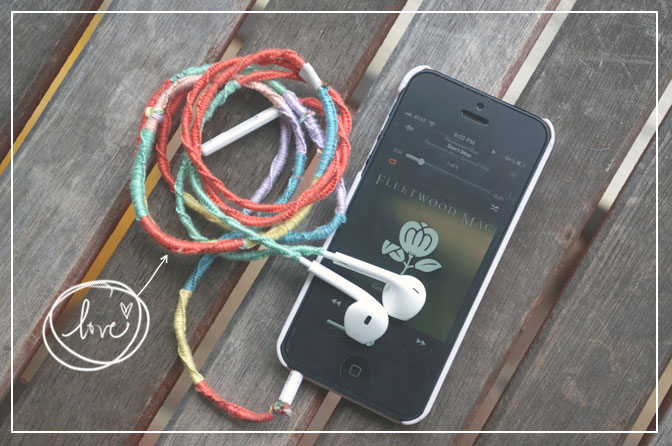
Another fairly simple way to cover the cord is with a basic, knotted friendship bracelet. With this method, you can do one or more colors and change colors as often as you want. Fashion Lush has a good tutorial on her blog.
Once you're on the friendship bracelet train, you can go anywhere. Look up some friendship bracelet tutorials on Pinterest (or buy one of the books listed below) and start crafting!
When I was in eighth grade, I financed a short term mission trip largely by selling friendship bracelets at school. My most popular pattern was a two color "hitch stitch," which is also very easy and quick to make. In honor of that trip 20 years ago, I decided to use it on my USB cord cover.
I would NOT recommend trying to measure and cut your yarn before beginning the pattern. Just leave it all nice and long to you'll always have lots of extra. This project ended up taking about 3 hours and a good amount of yarn.
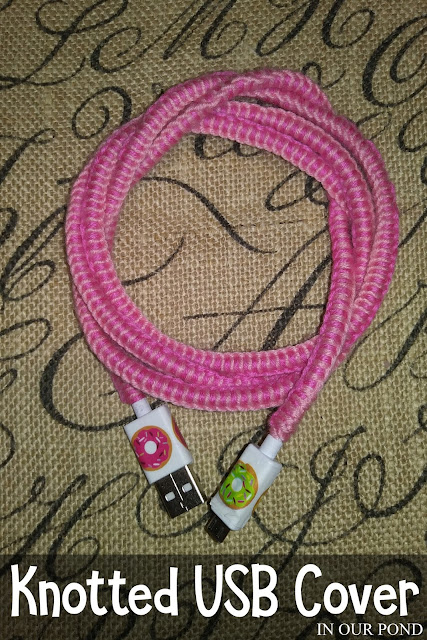
When I finished the project, I used a tapestry needle to tuck in the ends. Then, I wrapped some fun donut-themed washi tape around the plugs, completing this adorable craft.
Here's the tutorial on how to tie the knots from my FB page.
A few years ago, I ran across a picture of ear buds covered in green variegated embroidery floss. I was instantly inspired, but as a person who doesn't use ear buds, I dismissed the idea. Last night, I was crafting a car organizer and thinking about the road trip in general and the electronics situation specifically. For some reason, it pinged in my brain to make our USB cords more interesting.
I couldn't sleep last night until I promised myself that I'd make this craft today. I may or may not be crazy. So, I spent all day today working on the craft, doing live videos of it, and blogging about it.
Safety Warning- There is a small chance of the cord catching on fire if the wires become frayed or damaged. To minimize this risk, you can use a 100% wool yarn (wool is fire extinguishing) and make sure your cord is new. As always and with every project on this website, craft at your own risk.
Supplies
- USB cord for your device (any size)
- embroidery floss or yarn or paracord
- clipboard to hold your project as you work
The great thing about this project is that there are many different ways that you can cover the cord. The easiest way is to simply wrap the yarn around the cord and tie off, glue, or tape the ends. It seems like the majority of the projects on Pinterest use this technique.
| Picture from Brit.co. Please pin at original source. |
Secondly, you can crochet over the top of the cord, like this one from Not Your Average Crochet. In this method, you'll also need a crochet hook. In the tutorial, she only did one row of single chain, but it is possible to continue crocheting to make a very unique cord. Perhaps add a few rows of lace edging or attach some beads or charms.
 |
| Please Pin at Original Source |
Another fairly simple way to cover the cord is with a basic, knotted friendship bracelet. With this method, you can do one or more colors and change colors as often as you want. Fashion Lush has a good tutorial on her blog.
 |
| Please pin at original source. |
Once you're on the friendship bracelet train, you can go anywhere. Look up some friendship bracelet tutorials on Pinterest (or buy one of the books listed below) and start crafting!
When I was in eighth grade, I financed a short term mission trip largely by selling friendship bracelets at school. My most popular pattern was a two color "hitch stitch," which is also very easy and quick to make. In honor of that trip 20 years ago, I decided to use it on my USB cord cover.
I would NOT recommend trying to measure and cut your yarn before beginning the pattern. Just leave it all nice and long to you'll always have lots of extra. This project ended up taking about 3 hours and a good amount of yarn.
When I finished the project, I used a tapestry needle to tuck in the ends. Then, I wrapped some fun donut-themed washi tape around the plugs, completing this adorable craft.
Here's the tutorial on how to tie the knots from my FB page.



Comments
Post a Comment